How to Remove Ceramic Coating: A Step-by-Step Guide
Removing ceramic coating from your vehicle is a job many car detailing shop professionals handle regularly. This guide walks you through the complete process from start to finish. You'll learn how to check your coating's condition, gather the right tools, and safely remove the coating. The steps include washing, applying remover, using clay bars, and finishing with polish. Following these instructions helps you get professional results at home.
Assess Your Vehicle's Coating Condition
Start by examining your vehicle's ceramic coating closely before you begin the removal process. Check the surface for damage, wear, or problem areas. Look for spots where the coating is flaking, peeling, or breaking down. Notice any uneven areas or places where the coating looks different. Identifying these issues early helps you plan the most effective removal method. Mark any areas that require extra attention or a different approach. A good inspection of the coating's condition makes the removal process easier and more effective.
Gather Necessary Tools and Supplies
After inspecting the condition of your coating, gather the necessary tools and supplies for removal. You need several key items for effective coating removal. Use a high-quality ceramic coating remover specifically designed for removing ceramic coatings. Buy clay bars to help loosen coating from the surface. A dual-action polisher or orbital buffer is needed for the removal process. Have plenty of microfiber towels ready for wiping and cleaning. Get safety gear, such as gloves and goggles, to protect yourself during the removal process. Having these tools ready sets you up for successful ceramic coating removal.
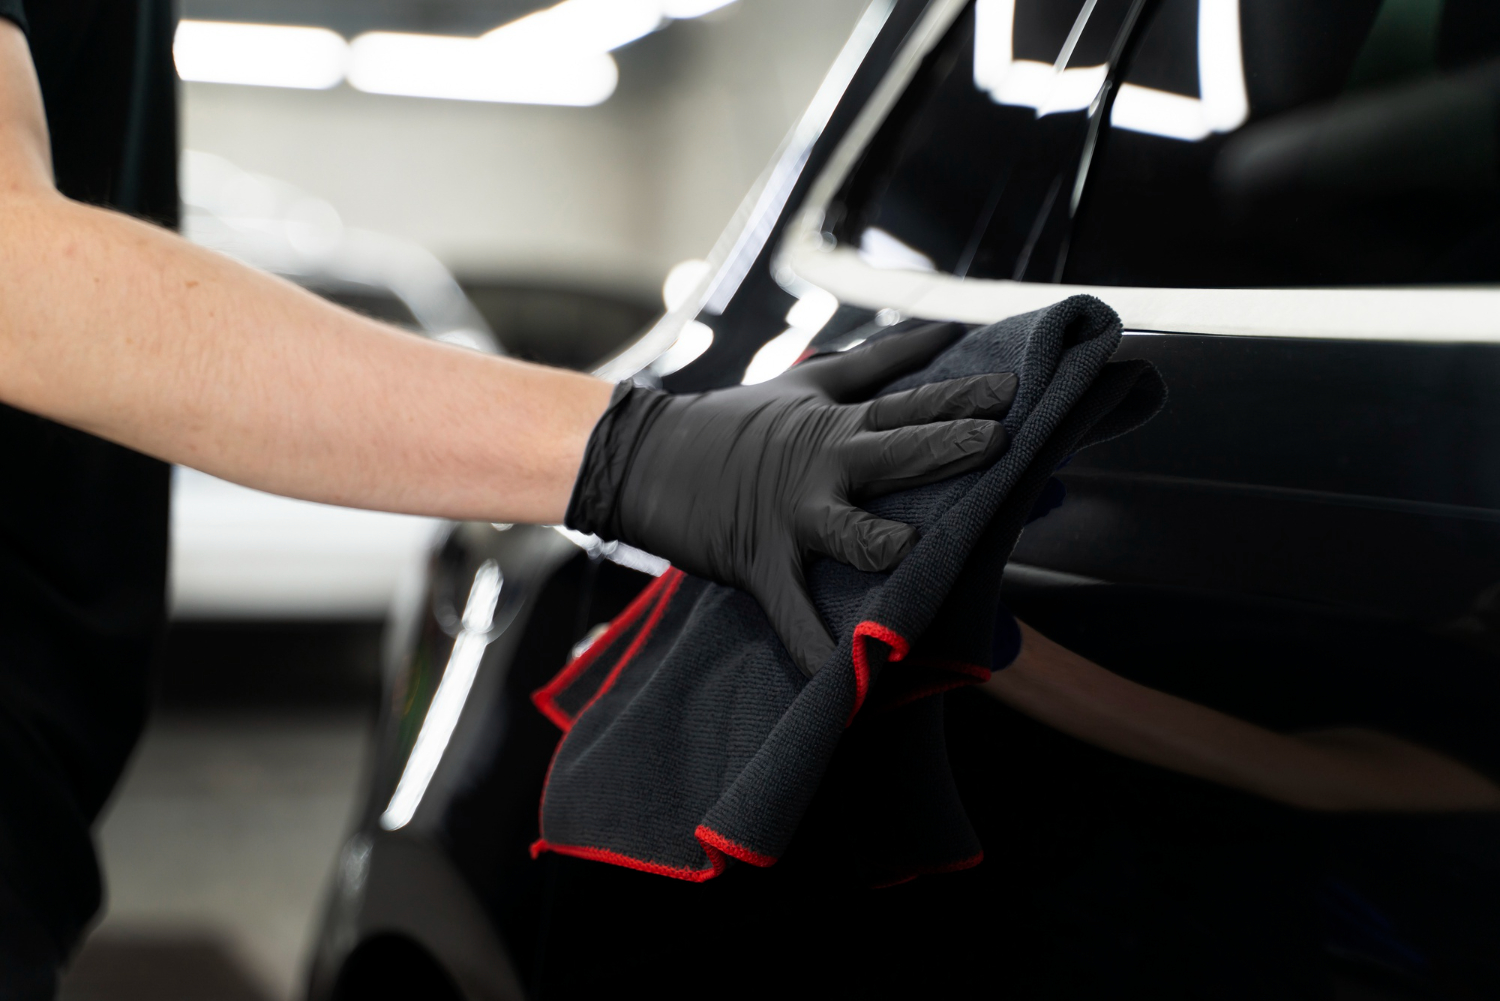
Wash and Decontaminate the Surface
Clean the vehicle thoroughly before starting the coating removal process to ensure the surface is properly prepared for the removal of the coating.
- Wash the Surface: Clean the vehicle with pH-neutral car shampoo to remove dirt, grime, or residue that could interfere with coating removal.
- Clay Bar Treatment: Use a clay bar to thoroughly clean the surface, creating a clean base for effective coating removal. This step removes embedded dirt that regular washing misses.
- Final Rinse and Dry: Rinse the vehicle one final time to remove any leftover residue, then dry the surface completely to prevent water spots before moving to the next steps.
Apply Ceramic Coating Remover
Apply a specialized ceramic coating remover to the vehicle's surface to effectively break down the protective coating. This step ensures a complete breakdown of the coating, making it easier to remove. Work on small sections to prevent the remover from drying on the surface. Apply the coating remover generously using a soft microfiber pad, ensuring that you cover all areas. Allow the remover to sit for the time specified in the product instructions. Work in shade to prevent early drying. After the wait time, gently wipe off the dissolved coating with a clean microfiber towel to show the bare surface underneath.
Use a Clay Bar for Stubborn Spots
If the ceramic coating resists complete removal with the remover, use a clay bar to handle tough spots on the vehicle's surface. When using a clay bar, keep the surface clean and wet to prevent scratching. Here's how to use a clay bar correctly:
- Work Small Areas: Clean small sections at a time for complete coverage.
- Use Light Pressure: Gently slide the clay bar over the surface to lift stubborn residue.
- Check Often: Examine the clay bar for dirt and fold it to reveal a clean surface.
Using a clay bar helps remove those tough areas where the ceramic coating won't come off easily.
Finish With Polishing and Protection
Complete the ceramic coating removal by polishing the surface and applying a protective sealant. After removing the coating and clay, barring stubborn spots, restore the paintwork to its best condition. Use fine polish to smooth the surface, removing any remaining flaws and bringing back the shine. Work carefully in small sections, using gentle pressure and overlapping motions for even results. Once polishing is complete, apply a high-quality protective sealant to safeguard the paint from dirt and UV rays. This final step makes the surface look great and provides lasting protection for your vehicle.
Related Topics: